We were given the task of going out and creating a short horror film. However, we had to make sure we used the 'Top 10 Horror Shots' when filming our sequence. Here is a list of them:
1. Off Kilter Shot.
2. Over the Shoulder Shot of the Killer.
3. Close up on the Weapon.
4. Close up/Extreme Close up of Fear.
5. 360 Degree Shot to Show Isolation/Fear.
6. High Angle Shot to Show Victims Vulnerability.
7. Low Angle Shot to Show the Power of the Killer.
8. How to Stab Someone Without Hurting Them.
9. Point of View of Victim and Killer as Victim crawls away on her back and Killer Approaches.
10. Use the Power of Suggestion...
Here is our finished piece, showing you all of the horror shots we needed to include:
1. Off Kilter Shot.
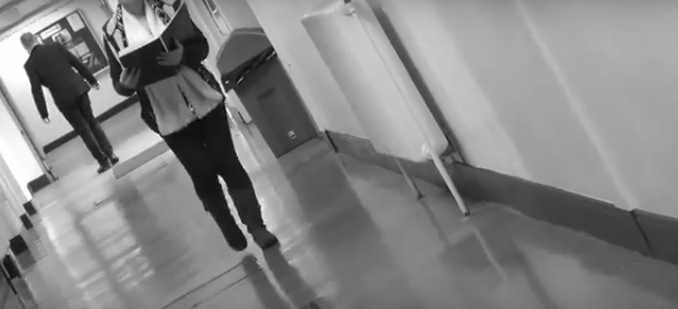
An off kilter shot is where you hold the camera at an odd angle. This will create a sense of uncertainty in the scene, as though something is wrong or something bad is about to happen. We decided to do this at the beginning of the sequence because it shows that something ins't quite right and that this character is in danger.
2. Over the Shoulder Shot of the Killer.
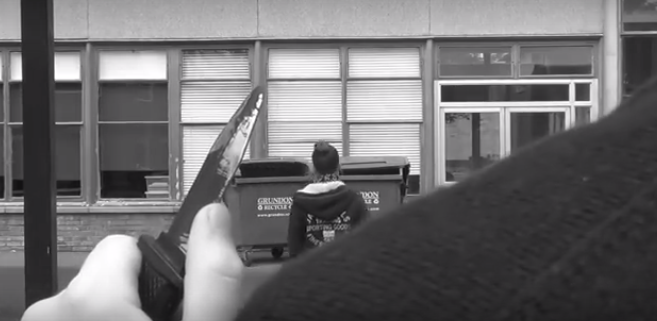
This shot is filmed over the shoulder of the victim,looking at the killer, so we can see her point of view in the scene. It allows the audience to put themselves in the shoes of the victim and to feel their fear. We decided to look over the shoulder of the killer instead of taking it literally and filming the killer directly because it fit better into our sequence and it also gives us a close up on the weapon, which we have another scene of in the next point:
3. Close up on the Weapon.
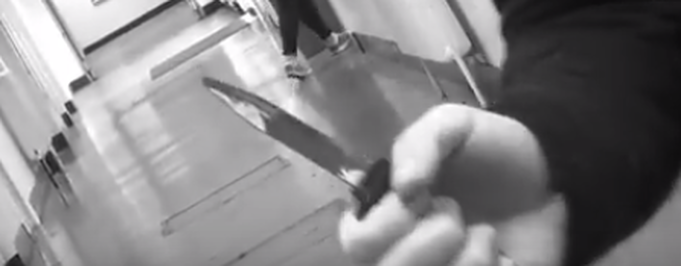
This one explains itself, we need to include a close up on the weapon to give us insight on how the victim will die towards the end of the sequence. We decided to put this into our 'Off Kilter Shot' because it adds to the uneasiness of this scene.
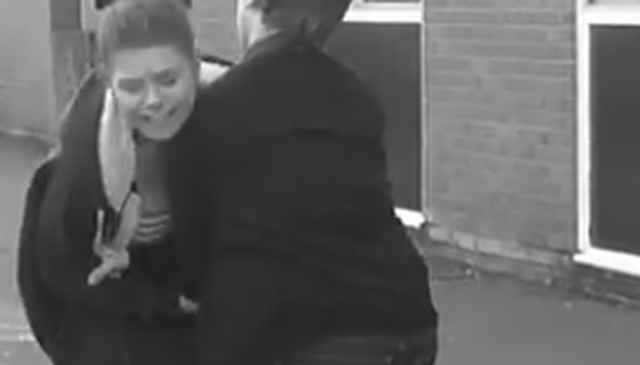
4. Close Up/Extreme Close Up of Fear.
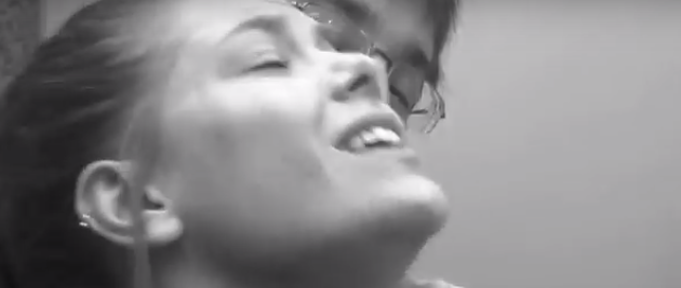
This may be an extreme close up of the victims face and/or actions, showing us that they are scared. It shows that they are also in a very vulnerable state and have not much chance of surviving against the killer. We used this shot with the killer attacking the victim because it adds a bit of drama to the middle of the sequence, and it shows her fear as well as his dominance over her at this point in time.
5. 360 Degree Shot to Show Isolation/Fear.
This will most probably be filmed without a tripod, by hand. This is where the camera will either move around the person whilst they stand still, or it will be an over the shoulder shot following the character as they spin around. We decided to follow our victim around from behind her shoulder because we thought it would set the scene a little better than moving around whilst she stands still.
6. High Angle Shot to Show the Victims Vulnerability.
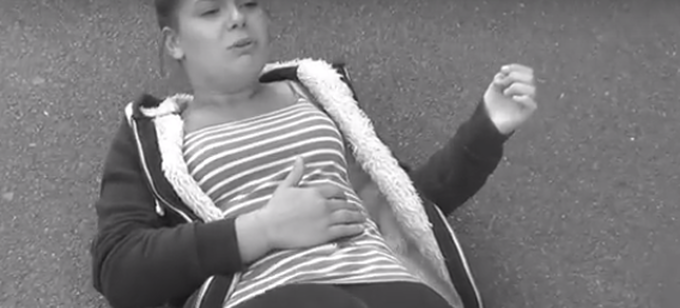
This will be at a high angle, looking down on the victim to show how powerless they are to the killer. The killer may be in this shot, with the camera over their shoulder again to show how much power they have. This particular shot shows the victim on the floor hurt showing she has no power of the situation what-so-ever. We didn't film this particular shot over the shoulder of the killer because in the whole shot, the camera comes in towards the victim after showing her getting stabbed and then looks down at her on the floor, almost from the perspective of the killer, to focus on her pain and suffering in this scene.
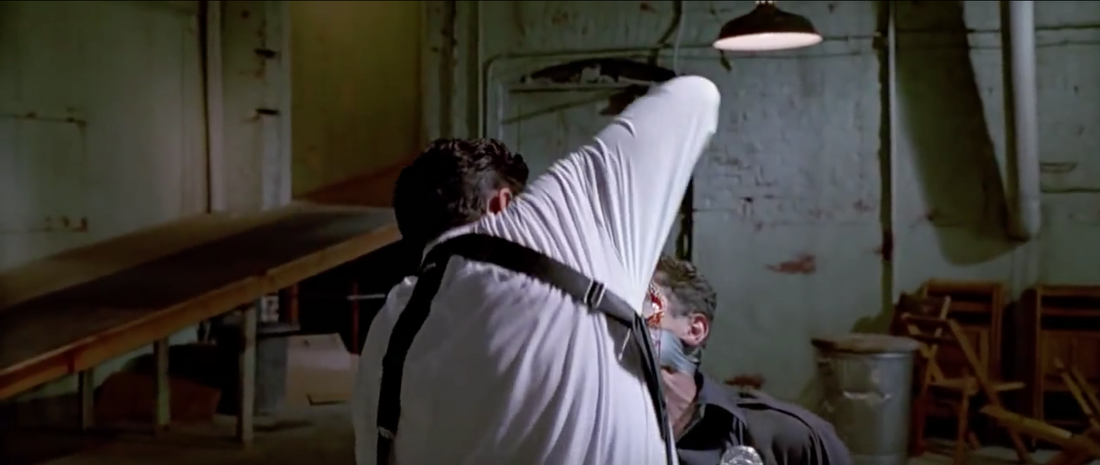
7. Low Angle Shot to Show the Power of the Killer.
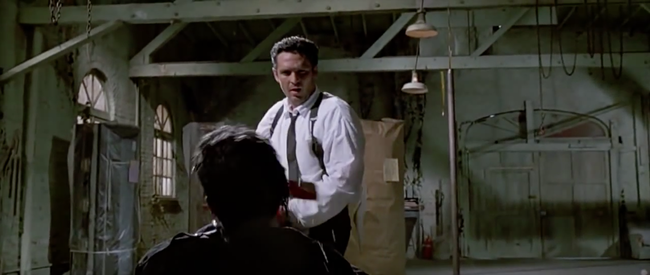
This will be a low angle shot looking up at the killer to show how much power they have over the victim. This could also include the victim in the scene showing them looking up at the killer to show their fear. It gives the victim no power and tells the audience who is in charge. We do not have this shot in our sequence due to the fact it does not fit in, however this is an image of the shot you will need. This is from Reservoir Dogs, the torture scene where the man gets his ear chopped off.
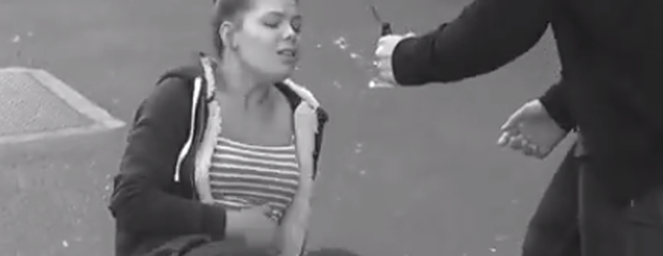
8. How to Stab Someone Without Hurting Them.
This will be filmed from one side of the victim whilst the killer stabs either the air or the ground on the opposite side of them to make it seem as though the victim is being stabbed. This will test the actors skills as they will need to make it seem as though the stabbing is real. This scene can also be produced using certain props. If you have a retractable blade, actors will be able to make it seem as though they are making contact with the skin without actually hurting anyone. In this shot we did two takes, one with a retractable knife so stabbing the victim was fine and realistic and another with an ordinary knife where it went in between the gap of her arm and body, the way it is shot means you can't actually see her get stabbed, this can also link to power of suggestion. In our filming process, we decided to use a retractable blade, because it is easy and you can actually see contact of the blade with the person which makes it more believable.
9. Point of View of Victim and Killer as Victim Crawls Away on Her Back and Killer Approaches.
This may also be filmed over the shoulder and can be linked to shots 6 and 7. The shot shows just how scared the victim is and how she knows she hasn't much time left before it is the end for her. We included this shot in the scene where she gets stabbed, as it shows her trying to crawl away from him and the suffering he has caused her.
10. Use the Power of Suggestion...

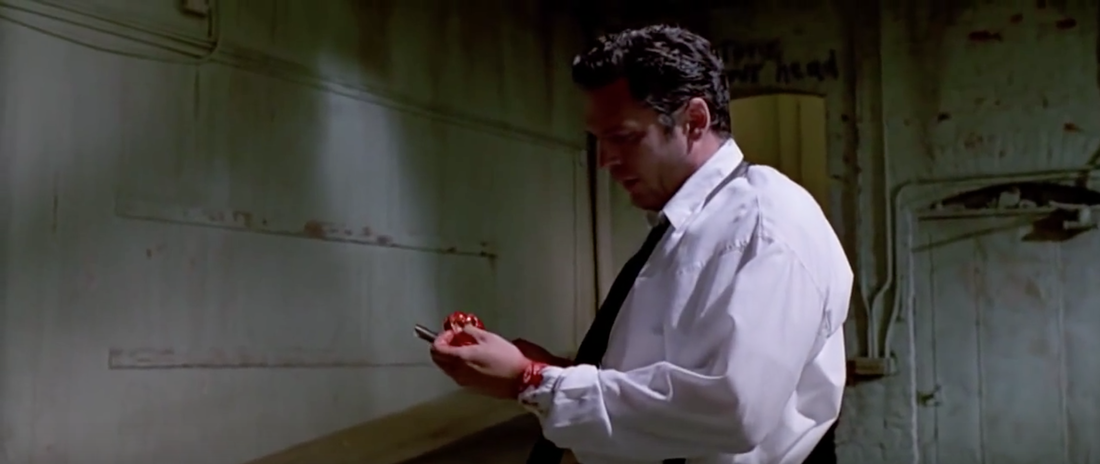
In this shot, the camera will pan to the side or away from the killer and victim to make it seem as though something bad is happening without actually having to murder someone on screen. This makes the audience think that something bad is happening when actually the panning of the camera leaves the audience imagining what is happening. Unfortunately, we weren't able to fit this into the sequence. This is also an example from Reservoir Dogs.
What Went Well:
Things that went well for me was, I believe we showed most of the shots that we needed to and we showed them well enough to make them understandable. As they were understandable it shows that we understand what the top 10 shots actually are, how they are effective and how to use them.
What Were the Problems:
Some of the things that went wrong were the fact we didn't use all the shots that were needed, however we still managed to complete the page with a description of what it includes. The reason why we didn't manage to do all the shots was because of the way we created our storyline and we couldn't fit them all into what we had created, this was a result of the fact that we didn't plan thoroughly to begin with.
What Would we do Differently:
If I was to do this again differently then I would make sure we plan the story with all the shots that are needed so then we can explain better with our own making.
